Table of Contents
TogglePlanning a bathroom renovation doesn’t have to feel overwhelming. Whether you’re working with a cramped powder room or a sprawling master bath, a solid bathroom design plan keeps your project on track, within budget, and aligned with your actual needs. This guide walks you through the essentials, from measuring your space and prioritizing fixtures to selecting materials and organizing storage. You’ll learn how to balance aesthetics with functionality, spot potential pitfalls before they become expensive mistakes, and create a bathroom that works as hard as you do.
Key Takeaways
- A bathroom design planner prevents costly mistakes by catching conflicts early, ensuring fixtures fit your space, and identifying structural or code work before demolition starts.
- Accurate measurements of wall lengths, ceiling height, plumbing, and electrical locations are essential—use a tape measure and stud finder rather than eyeballing your space.
- Prioritize durability and moisture resistance when selecting fixtures and materials: quartz countertops, ceramic tile flooring, and high-quality bath paint deliver longevity in humid environments.
- Layout should separate wet zones (toilet, sink, tub/shower) with proper clearances—a toilet needs 15 inches from center to wall, vanities require 24 inches of knee space, and shower doors need 24 inches of swing clearance.
- Layered storage solutions, including deep vanity drawers, wall-mounted shelving, and recessed niches, keep bathrooms organized while task lighting (wall sconces at eye level) and properly sized exhaust ventilation prevent mold and improve daily functionality.
- A solid bathroom design plan aligns your lifestyle, budget, and space constraints, transforming renovation projects into well-executed outcomes that remain beautiful and functional for decades.
Why a Bathroom Design Plan Matters
A bathroom design plan is your roadmap, it prevents costly impulse purchases, ensures fixtures fit your space, and catches conflicts early (like a vanity that blocks the door swing or a vent stack that requires rerouting). Without a plan, homeowners often discover mid-project that their dream vessel sink won’t clear the faucet, or that the tile layout leaves awkward slivers at the walls.
Planning also helps you identify structural or code-related work upfront. Does your existing exhaust vent meet current International Residential Code (IRC) standards for bathroom ventilation? Will moving plumbing require a licensed plumber and permit? These questions matter before demolition starts. A clear plan also helps you set priorities: if budget is tight, you’ll know which upgrades deliver the most impact (better lighting, quality flooring) versus which are nice-to-haves (heated towel racks, fancy hardware).
Assessing Your Space and Setting Priorities
Start by measuring everything: wall lengths, ceiling height, window and door locations, and the position of existing plumbing and electrical. Use a tape measure, not your eye, mistakes compound quickly. Note where studs run (use a stud finder), as they affect where you can move plumbing or run new supply lines.
Next, walk through a typical morning or evening routine. Where do you actually stand? Where do bottles and products land? A small bathroom benefits from a single vanity with deep drawers, while a shared master bath might justify dual sinks. Ask yourself hard questions: Is the current layout actually broken, or just dated? Can you live with the existing footprint (keeping costs down), or does poor traffic flow demand a layout change? Do you need a tub, or would a walk-in shower save space and money? Jot down your top three pain points, low light, no storage, cold tile floor, because these are your priorities when choosing materials and fixtures.
Choosing Fixtures, Finishes, and Materials
Fixtures include toilets, sinks, faucets, and tubs: finishes are the surfaces, tile, paint, hardware, and countertops. Durability and maintenance matter more in bathrooms than in other rooms, given moisture and daily wear.
Flooring is your foundation. Ceramic or porcelain tile is the workhorse: it resists moisture, cleans easily, and lasts decades. Natural stone (marble, slate) is beautiful but porous and requires sealing. Vinyl plank flooring mimics wood or stone at a fraction of the cost and handles water well, but lower-grade products dent under heavy items. Whatever you choose, use epoxy grout (not standard grout) on tile floors, it resists mold and staining.
Countertops face splashing and condensation daily. Quartz is virtually indestructible, doesn’t need sealing, and comes in endless colors. Marble looks stunning but stains and etches easily. Solid surface (like Corian) is repairable and non-porous but shows scratches. Laminate works on a budget but won’t last 20+ years in a humid bathroom.
Wall finishes matter too. Bathroom paint must be high-quality, moisture-resistant (labeled for kitchens and baths). Tile is the gold standard behind the sink and tub, it’s waterproof, cleanable, and timeless. Shiplap and wallpaper look great but need a strong vapor barrier behind them to prevent mold. Many successful bathrooms combine materials: tile behind the vanity, painted walls elsewhere, perhaps shiplap as an accent.
Layout and Flow: Maximizing Your Bathroom Layout
Layout drives function. The goal is to separate wet zones (toilet, sink, tub/shower) so users don’t collide, and to maximize storage without boxing in the space.
The work triangle applies here: toilet, sink, and shower/tub should form a logical sequence without forcing users to walk across the room. In a small bathroom (under 40 square feet), you may have no choice, everything clusters together. That’s okay if traffic flows naturally: enter, hang wet towels, wash hands at sink, access toilet and shower without backtracking.
In a larger space, consider placement psychology. Toilets tucked into a corner (ideally in a separate nook or water closet) offer privacy and don’t interrupt the vanity ritual. The vanity typically anchors one wall and benefits from a window if available (natural light saves energy and improves mood). Tubs and walk-in showers can dominate a wall opposite the door: a poorly placed shower that blocks the entry path feels cramped even if square footage is generous.
Clearances matter. A toilet needs at least 15 inches of space from center to wall (check your local building code). A vanity should have 24 inches of knee space below and 36 inches to the opposite wall or fixture for comfortable use. A shower door needs 24 inches of clear swing space. Measure twice and sketch your layout at scale (even a rough graph-paper sketch helps) before buying fixtures.
Storage Solutions and Organization
Bathrooms fill with stuff, toiletries, medications, cleaning supplies, hair tools, and poor storage creates visual chaos and mildew (products stashed in dark corners retain moisture). Plan storage in layers.
Vanity drawers are prime real estate. Measure your existing vanity or select a new one with at least 24 inches of drawer depth and multiple tiers. Divided drawers or inserts keep small items (razors, hair clips, medications) organized and accessible. A 30-inch vanity might offer 12–18 inches of usable drawer space: a 48-inch dual vanity offers far more.
Wall-mounted shelving above the toilet or beside the mirror adds storage without eating floor space. Recessed niches (built into the wall) in the shower or above the tub are luxury touches that reduce clutter and improve safety (bottles off the tub deck mean fewer slip hazards). Open shelving looks airy but collects dust in bathrooms: consider glass or decorative baskets that contain items while keeping them visible.
Ventilation and maintenance tie to storage. Don’t cram cabinets so tightly that air can’t flow, as this promotes mold inside drawers. Leave small gaps or drill tiny drainage holes in the back of under-sink cabinets. Use pull-out shelves or lazy Susans in deep cabinets so you can access items at the back without reaching blind.
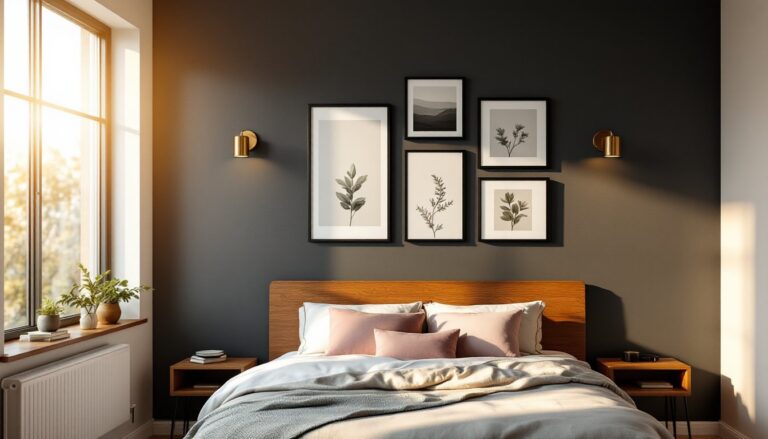
Lighting, Ventilation, and Smart Bathroom Features
Poor lighting is one of the top bathroom regrets. A single ceiling fixture casts shadows on your face at the mirror, not ideal for shaving or makeup. The National Kitchen & Bath Association recommends task lighting (wall sconces flanking the mirror at eye level) combined with ambient light (ceiling fixture or recessed lights). Add a dimmer switch for evening visits and relaxation time.
Ventilation prevents mold and mildew. Most bathrooms need a dedicated exhaust fan (ductless fans aren’t suitable long-term). The IRC requires ventilation sized to the room, roughly 1 CFM per square foot, or a 50-CFM minimum for a 50-square-foot bathroom. A timer or humidity sensor (available in modern units) runs the fan only as needed, saving energy while preventing moisture buildup. Ductless fans that simply blow air back into the attic or walls don’t work: exhaust must exit outside through a dampered duct.
Smart features are increasingly accessible. Heated floors (radiant heating mats under tile) cost $200–$800 installed and feel luxurious. Heated towel racks dry towels and add warmth to the room. Moisture-sensing lights turn on automatically at night. A programmable outlet controls a heated mirror or fan. None are essential, but small tech upgrades enhance daily comfort. Consult HomeAdvisor’s project planning guides for realistic cost expectations in your region and typical timelines.
Conclusion
A thoughtful bathroom design plan balances your lifestyle, budget, and the space you have. Measure accurately, prioritize ruthlessly, and don’t skip prep work or ventilation, these are where real durability lives. With a clear plan in hand, you’re ready to start sourcing materials and lining up contractors or tools. A well-planned bathroom works hard every single day and stays beautiful for decades.