Table of Contents
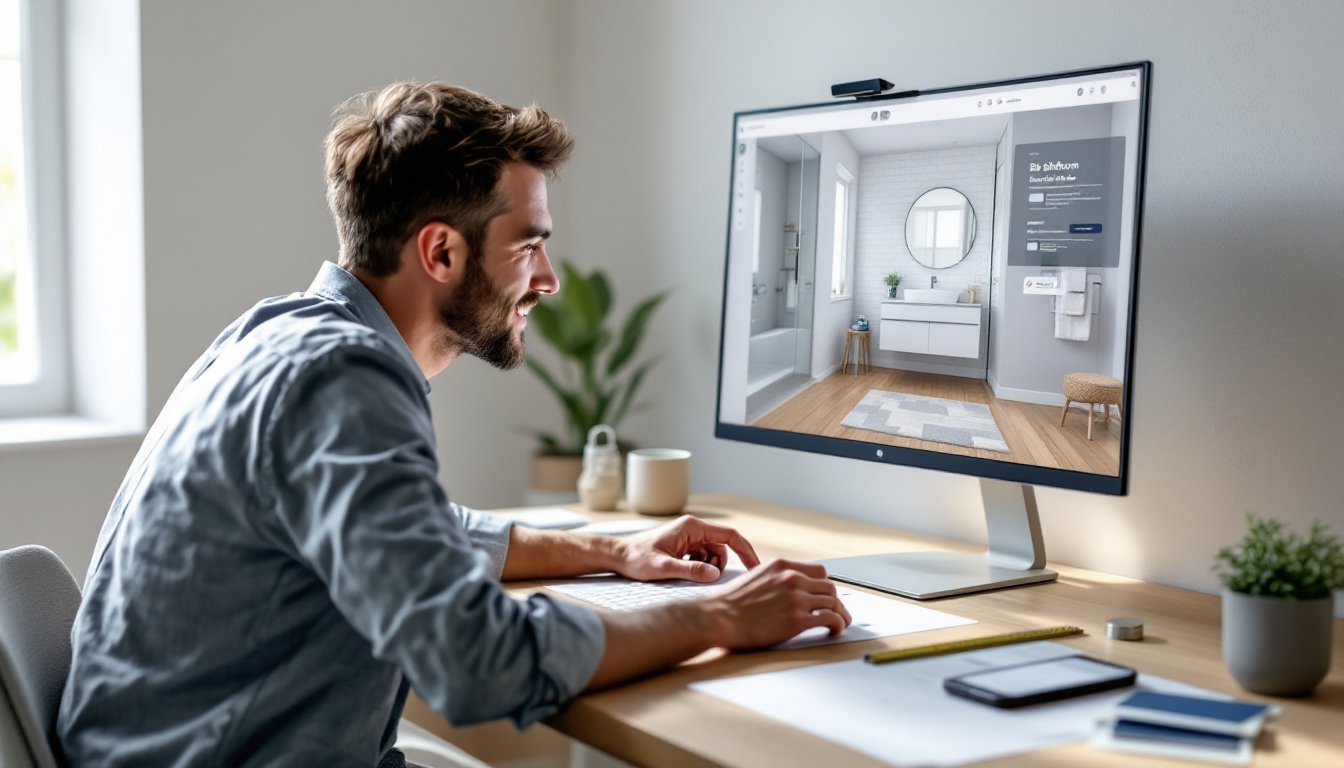
TogglePlanning a bathroom renovation can feel overwhelming when you’re staring at a blank space and trying to picture where everything goes. That’s where bathroom 3D design tools come in, they let you see your finished project before you swing a hammer or spend a dollar. Whether you’re working with a cramped powder room or redesigning a master bath, visualizing the layout, tile patterns, fixtures, and color schemes on screen saves time, money, and regret. This guide walks you through why 3D design matters, which tools to use, and how to turn your digital vision into a real renovation.
Key Takeaways
- Bathroom 3D design tools help you identify layout issues like fixture conflicts and clearance problems before construction begins, saving time and money on costly rework.
- Using 3D bathroom design software requires measuring your space accurately, building your room outline, adding fixtures with correct dimensions, applying materials and colors, and testing lighting to preview your finished project.
- Free tools like SketchUp Free and Planner 5D work well for most DIY projects, while paid software ($50–$500) offers more advanced features if you’re managing complex renovations or design variations.
- Essential elements in your 3D design model include plumbing and drain locations, electrical outlets and lighting placement, clearance zones for fixtures, ventilation paths, and material takeoffs to prevent overordering.
- Small bathrooms benefit most from 3D design to test space-maximizing layouts like wall-mounted vanities and vertical mirrors, while large bathrooms require zone planning and multiple light sources to avoid feeling empty.
- Before starting construction, confirm permits with your local building department, source materials early to lock in prices and availability, plan your installation sequence, and hire professionals for structural or specialized plumbing work that exceeds your skill level.
Why 3D Design Tools Are Game-Changers For Bathroom Renovations
Before 3D design software, bathroom planning meant relying on pencil sketches, magazine cutouts, and hope. Today, visualizing your bathroom in three dimensions catches layout problems, fixture conflicts, and material choices long before installation.
A 3D model reveals issues that 2D floor plans hide. You’ll spot whether a vanity blocks the door swing, if your shower niche aligns with studs, or whether that freestanding tub actually fits the space with clearance to walk around it. You’ll see how natural light hits your wall tile color and whether your chosen vanity height works with your mirror. These details matter because fixing them after framing is expensive and frustrating.
3D design also keeps your team aligned. Contractors, designers, and family members can review the same model and agree on details before work starts. No surprise changes mid-project. You’ll catch decisions like “Do we want floating shelves or a medicine cabinet?” and “Is this tile texture the right choice?” during planning, not during installation when every change costs extra labor hours.
Cost savings are real too. You avoid expensive material overorders, fixture returns, and rework because you’ve tested your layout and material selections digitally. Many homeowners who skip this step end up repositioning plumbing rough-ins or buying different tile because the colors looked wrong in the store under fluorescent lights versus in the actual bathroom with your specific lighting.
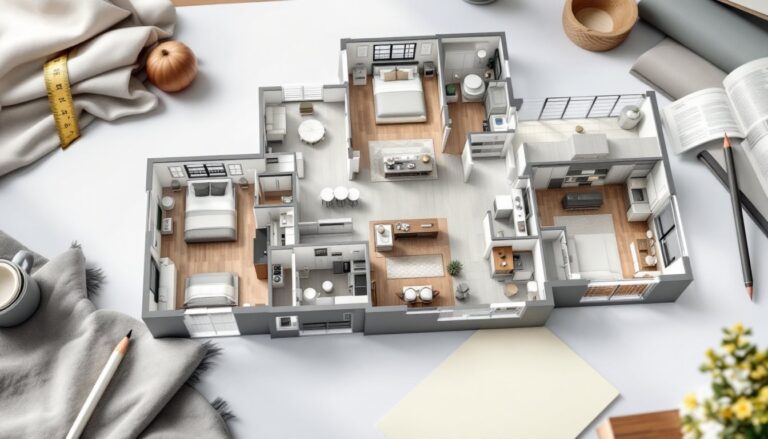
How To Use 3D Bathroom Design Software: A Beginner’s Guide
Starting with 3D design software doesn’t require architectural training. Most modern tools walk you through a simple workflow: measure your space, build your box (walls, windows, doors), add fixtures and surfaces, then adjust lighting and view angles.
Step 1: Measure your bathroom accurately. Use a steel measuring tape, not a fabric one, and measure all four walls, jog-outs, ceiling height, door and window locations, and the depth of any existing vanities or tubs. Write these down in a sketch or photo on your phone. Small errors here cascade through your entire design, so take your time.
Step 2: Choose your software (see next section for details).
Step 3: Input your space. Most tools let you draw walls by entering dimensions or by clicking to place them on a grid. Set your room outline, add wall thickness (typically 4.5″ for a framed 2×4 wall plus drywall), and place your door and window openings.
Step 4: Add fixtures and surfaces. Drop in your toilet, sink, vanity, tub or shower, and any shelving. Most libraries include standard dimensions, a toilet rough-in is 12 inches from the finished wall, a standard vanity is 21 inches deep, and a shower niche should be at least 12 inches deep. Position everything and check clearances.
Step 5: Apply materials and colors. Assign tile, paint, flooring, and finishes to surfaces. This is where the tool becomes magic, you’ll instantly see how that navy blue paint looks against white subway tile or whether your grout color contrasts enough.
Step 6: Test lighting and angles. Most tools let you move a light source around and view your space from different vantage points. This reveals color-accuracy issues and shows how bright or dark your finished bathroom will feel.
Step 7: Share and refine. Export images or a 3D model file to share with contractors, designers, or family. Use their feedback to iterate before finalizing.
Free vs. Paid Design Tools: What You Really Need
Free tools like SketchUp Free (web-based), Planner 5D, and RoomSketcher work well for basic bathroom layouts. They offer decent fixture libraries, simple material assignment, and enough rendering quality to see your design concept. The trade-off: limited customization, fewer advanced features, and occasional watermarks on exports.
Paid tools like Autodesk Home, Chief Architect, or specialized bathroom design software ($50–$500 one-time or subscription) give you more fixture options, better material libraries, more precise dimension control, and professional rendering. They’re worth the investment if you’re handling a complex remodel or want to test multiple design variations.
For most DIY bathroom projects, a free tool is sufficient. You’ll catch layout problems and make confident material choices. If you’re working with a designer or contractor, ask which platform they prefer, many already own licenses and prefer to work in their native software rather than exporting files between formats.
Essential Elements To Include In Your 3D Bathroom Layout
A complete 3D bathroom design includes more than just the big fixtures. Pay attention to these details during planning to avoid problems during execution.
Plumbing and drainage paths. Mark where your main drain stack is located (usually runs vertically behind the wall), existing water lines, and vent pipes. This matters because relocating plumbing is expensive and may require permits. Positioning a new vanity directly above the main stack complicates rough-in work. Many DIY remodels stay within existing plumbing to keep costs down.
Electrical outlets and lighting. Your 3D model should show outlets (how many, where), light fixture placement, exhaust fan location (typically centered over the tub or toilet, roughly 22 inches x 22 inches for the rough-in opening), and switch locations. Code requires at least one outlet within 36 inches of a sink, GFCI protection for all outlets within 6 feet of water, and proper ventilation requirements (usually tied to fan CFM rating and ducting). Codes vary by jurisdiction, check yours.
Clearance zones. A toilet needs at least 15 inches from the centerline to a wall, a bathroom vanity requires 24 inches in front for comfortable use, a tub or shower needs 24 inches clear floor space on at least one long side, and doors must swing open without hitting fixtures. Include these in your 3D model as guides.
Vertical clearance. Note your ceiling height and any ductwork, pipes, or beams that dip below the soffit. This affects mirror placement, shelving heights, and lighting choices. Low ceilings mean recessed lighting rather than pendant fixtures.
Ventilation ducts and HVAC paths. If you’re upgrading your exhaust fan, your duct needs to route outside (not into an attic or crawlspace). Show this path in your model to catch conflicts with framing, insulation, or existing systems.
Material takeoffs. Once your layout is locked, your 3D tool should help estimate tile square footage, linear feet of trim, wall area for paint, and flooring quantity. This prevents overordering or running short mid-project.
Smart Design Tips For Small And Large Bathrooms
Small and large bathrooms present opposite challenges, and 3D design helps you solve both.
For small bathrooms: Use your 3D model to test layouts that maximize usable space. A wall-mounted vanity instead of a pedestal sink opens up floor space and makes the room feel larger. Position your mirror vertically above the sink to draw eyes upward. Light colors (white, pale gray, soft blue) photograph lighter in 3D renderings and feel more spacious than dark tones. Corner shelving and recessed niches steal no floor space. Wall-mounted toilets exist but require special rough-in plumbing and often a carrier frame, show this in your model so rough-in work matches. Small bathrooms benefit most from 3D design because a single poor fixture placement kills the whole layout.
For large bathrooms: Your challenge is avoiding a cold, empty feel. Divide your space into zones: a vanity zone, a toilet zone, and a bathing zone. A double vanity justifies the footage and adds function. Test whether a freestanding soaking tub positioned as a focal point works better than cramming it into a corner. Separate shower enclosures feel luxurious and give flexibility. Use 3D design to preview how furniture (a bench, a shelving tower) fills the space without blocking traffic flow. Lighting becomes important, a single ceiling fixture leaves a large bathroom dim and uninviting, while 3D models help you plan multiple light sources at different heights.
Both sizes benefit from honest material choices. Your 3D tool lets you preview timeless design principles for bathrooms, think neutral tile, quality fixtures, and good lighting, rather than chasing trends that look stale in five years.
Bringing Your 3D Design To Life: Next Steps For DIY Implementation
Your finalized 3D model is a blueprint, not permission to start work. Before breaking out tools, confirm permits, material sourcing, and realistic timelines.
Permits and inspections. Structural changes, new plumbing, electrical work, and ventilation upgrades typically require permits. Check with your local building department, codes vary. Some jurisdictions permit cosmetic tile and paint without approval: others don’t. Unpermitted work complicates insurance claims and future home sales. Your 3D design helps you communicate with permit reviewers and contractors about scope.
Source your materials early. Now that you’ve tested colors and styles in 3D, order your tile, paint, fixtures, and hardware. Large-format tiles may ship slowly: matte finishes have longer lead times than glossy. Prices and availability fluctuate, locking in orders prevents surprise cost jumps or mid-project substitutions. Keep samples on-hand and test them in your actual bathroom lighting before committing.
Plan your sequence. Bathrooms follow a logical order: rough-in plumbing and electrical, frame any changes, inspect, drywall, tile prep (waterproofing for wet areas), tile installation, fixture installation, paint, trim, and final details. Your 3D model helps you understand dependencies, you can’t install vanity plumbing before the vanity wall is framed, and you can’t tile the shower surround before the threshold is set. Rushing or skipping steps leads to rework.
Know when to hire professionals. If your 3D design shows you need structural work, gas line installation, or complicated plumbing relocation, hire a licensed contractor or plumber for those phases. Many DIYers handle tile, paint, and fixture installation themselves but outsource rough-in work. Be honest about your skills.
Resources for inspiration and execution. Platforms like Remodelista showcase real bathroom renovations with design notes and sourced products, helping you refine your 3D choices. Design sites like Design Milk cover contemporary bathroom trends and product reviews that validate material selections.
Conclusion
Bathroom 3D design transforms renovation planning from stressful guesswork into a clear, testable process. You’ll catch problems early, align your team around one vision, and make confident material and layout decisions before a single wall is opened. Start with measurements, pick a tool that fits your comfort level (free options work fine for most DIY projects), and spend time testing different layouts and finishes. The hour you invest in design now saves days of frustration and dollars in rework later. Your finished bathroom will reflect your actual needs, not your assumptions.