Table of Contents
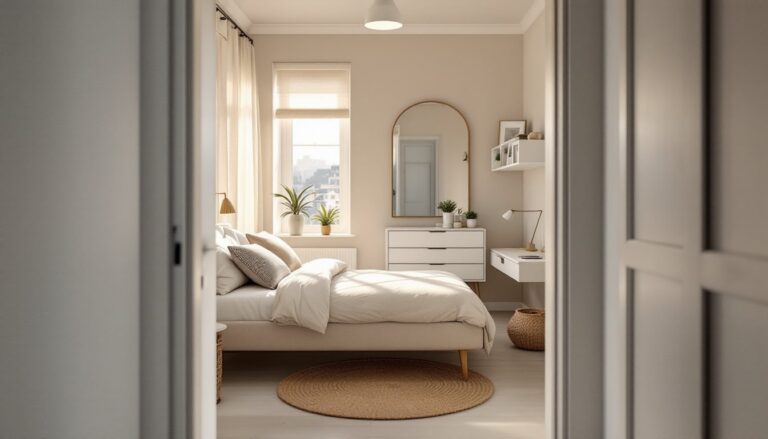
ToggleYour bedroom’s back wall is prime real estate for design impact. It’s the first thing you see when you wake up and the backdrop to your most intimate moments, yet it’s often overlooked in favor of nightstands and bedframes. A thoughtfully designed back wall can anchor the entire room, set the mood, and reflect your personal style without requiring a full renovation. Whether you’re after bold color, textural depth, wood warmth, or gallery-style artistry, the options for 2026 blend practicality with genuine statement-making potential. This guide walks through seven approaches that work for renters, homeowners, and anyone ready to upgrade their sleep sanctuary.
Key Takeaways
- A bedroom back wall design serves as the room’s visual anchor—the largest uninterrupted surface you see from bed—making it a prime opportunity for design impact without requiring a full renovation.
- Paint is the fastest and most reversible back wall transformation, with bold accent colors in deep jewel tones, warm neutrals, or moody shades creating mood while masking imperfections better than pastels.
- Peel-and-stick wallpaper offers a renter-friendly bedroom back wall solution that’s removable, fast to apply, and available in thousands of designs, though traditional wallpaper requires more prep and professional skill for seamless results.
- Shiplap and wood paneling add structural warmth and modern-rustic texture but require stud-finding, level work, and power tools, making it best suited for homeowners willing to invest in a permanent installation.
- Gallery walls transform your bedroom back wall into a customizable personal gallery by mixing frame styles and artwork types in asymmetrical clusters, remaining fully removable for renters.
- Lighting features like wall sconces, floating shelves, and LED strips elevate your back wall from a blank canvas into a functional focal point, though electrical work should always be handled by licensed professionals.
Why Your Bedroom Back Wall Deserves Attention
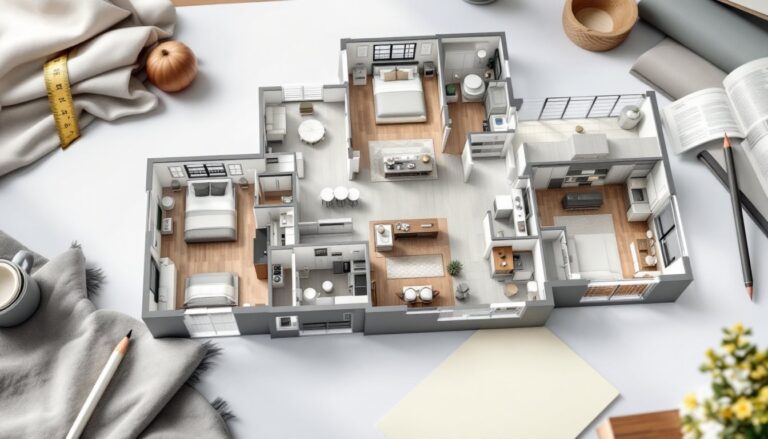
The back wall is the largest uninterrupted surface most people see from bed. That scale matters. Unlike a narrow accent wall or a corner shelf, your back wall command’s visual attention for hours each day. Design-wise, it serves as the room’s anchor, everything else (bed frame, lighting, accessories) orbits around it.
Structurally, bedroom back walls rarely carry load-bearing requirements, which means you have freedom for cosmetic updates. But, if you’re installing shelving, mounting a TV, or adding any electrical work (like task lighting), those considerations do apply. Most apartment leases allow paint if you restore it upon leaving, but wallpaper removal can be trickier: always check your lease first.
Psychologically, a curated back wall signals intentionality. It tells you, and anyone entering the space, that this room matters. That doesn’t mean expensive: it means considered. The projects below range from zero-tool updates (peel-and-stick wallpaper) to weekend-level work (shiplap installation) to artistic display (gallery walls).
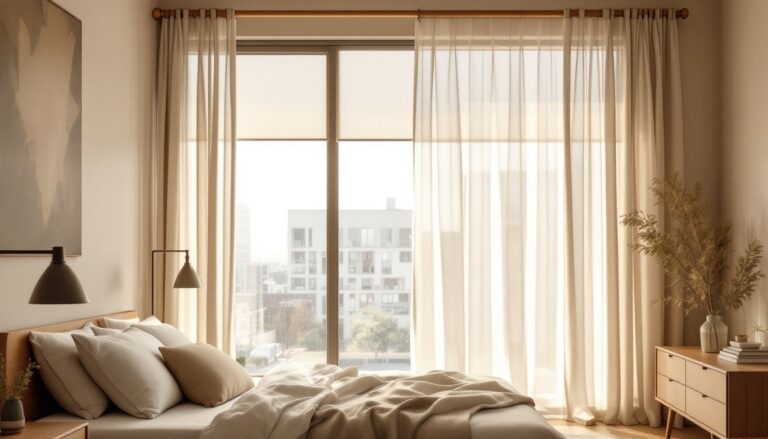
Bold Paint Colors and Accent Walls
Paint is the fastest, most reversible back wall transformation. A single accent wall in deep jewel tones, warm neutrals, or even moody black can redefine the entire bedroom without structural changes.
Color psychology in bedrooms matters. Deep blues and greens promote calm and focus, while warm terracottas and dusty rose encourage coziness. Darker shades (charcoal, navy, deep plum) photograph well and feel luxurious: they also mask imperfections better than pastels. If you’re renting or uncertain about commitment, test with large paint sample patches and live with them for a few days under different lighting.
Prep is non-negotiable. Remove outlet covers and light switch plates, tape trim with painter’s tape, and prime if switching from light to dark or vice versa. One coat of primer plus two coats of quality paint typically covers a standard 10′ × 8′ wall. Use a roller for smooth, even coverage on large areas: a brush works for cut-ins and detail. Invest in decent brushes (synthetic for latex paint, natural bristle for oil), cheap brushes shed fibers and waste paint.
Finish matters too. Flat or matte paint hides imperfections but shows fingerprints: satin or eggshell is more forgiving and wipeable. Avoid high-gloss in bedrooms unless you want a modern, almost glamorous effect.
Cost estimate: $20–$60 per gallon for quality interior paint. A standard bedroom back wall typically needs 1–1.5 gallons.
Textured Wallpaper and Peel-and-Stick Options
Wallpaper isn’t just florals anymore. Textured patterns, grasscloth, linen weaves, geometric grids, oversized botanicals, add depth and sophistication. The catch: traditional wallpaper requires prep, primer, paste, and skill to apply without bubbles or seams showing.
Peel-and-stick wallpaper is the DIY shortcut. Brands like Spoonflower, Temporary Wallpaper, and even some big-box stores offer self-adhesive options that work on primed, smooth surfaces. They’re forgiving (removable without damage), fast, and available in thousands of designs. The trade-off is durability, they may curl at edges over years or in humid bathrooms, but in a dry bedroom, they’ll hold fine.
For traditional wallpaper, hire a pro or proceed carefully: measure the wall height and width, order 10% extra for pattern matching, and prime the wall first. The application itself (rolling on paste, smoothing out air bubbles) requires patience. Seams are the visible evidence of DIY wallpaper: pros barely show them.
Installation steps for peel-and-stick:
- Clean the wall thoroughly and let it dry completely.
- Measure and mark the center point of your wall with a light pencil line.
- Unroll one panel, align with your center mark, and press firmly from center outward to avoid bubbles.
- Use a smoothing tool or squeegee to work out air pockets as you go.
- Overlap seams slightly and trim with a utility knife for clean edges.
Peel-and-stick wallpaper costs $25–$75 per roll (depending on brand and design) and typically covers 27–30 square feet. A back wall might need 2–3 rolls.
Shiplap and Wood Paneling Designs
Shiplap has become a bedroom staple, and for good reason. The horizontal or vertical planking adds warmth, texture, and a modern-rustic feel that photographs beautifully. Unlike wallpaper or paint, it’s structural and permanent, so it’s best for homeowners, not renters.
Materials: Shiplap comes in solid wood (pine, pine-like engineered products, or higher-end oak) or MDF (medium-density fiberboard) with a finished surface. Real wood will feel nicer but costs more and requires staining or painting. MDF is budget-friendly and typically primed white, ready to paint. Boards are usually 8–10 inches wide (finished) and come in 8′ to 16′ lengths. A standard 10′ × 8′ wall needs roughly 80 linear feet, or about 10 boards.
Installation requires planning. Shiplap mounts to wall studs (typically 16 inches on center) using a nail gun or screws. If your wall isn’t straight (older homes sag), you may need to shim boards to stay level. The rabbeted edges overlap slightly, hiding fasteners and creating that seamless look.
Step-by-step basics:
- Find and mark all studs with a stud finder.
- Snap a horizontal chalk line at the height where your first board will sit (usually floor-level or 1–2 inches above baseboard).
- Nail or screw the first board, checking level frequently.
- Continue upward, ensuring each board’s groove or rabbet tightly overlaps the previous one.
- Fill gaps at top and bottom with trim boards for a finished edge.
- Prime and paint (two coats of quality interior paint).
Safety: Wear safety glasses and work gloves. A nail gun requires hearing protection and careful trigger discipline. If you’re not comfortable with power tools, this is a project worth hiring out.
Cost: Shiplap runs $2–$8 per linear foot depending on material. Labor for professional installation typically adds $8–$15 per square foot. DIY materials alone: roughly $150–$300 for a standard back wall.
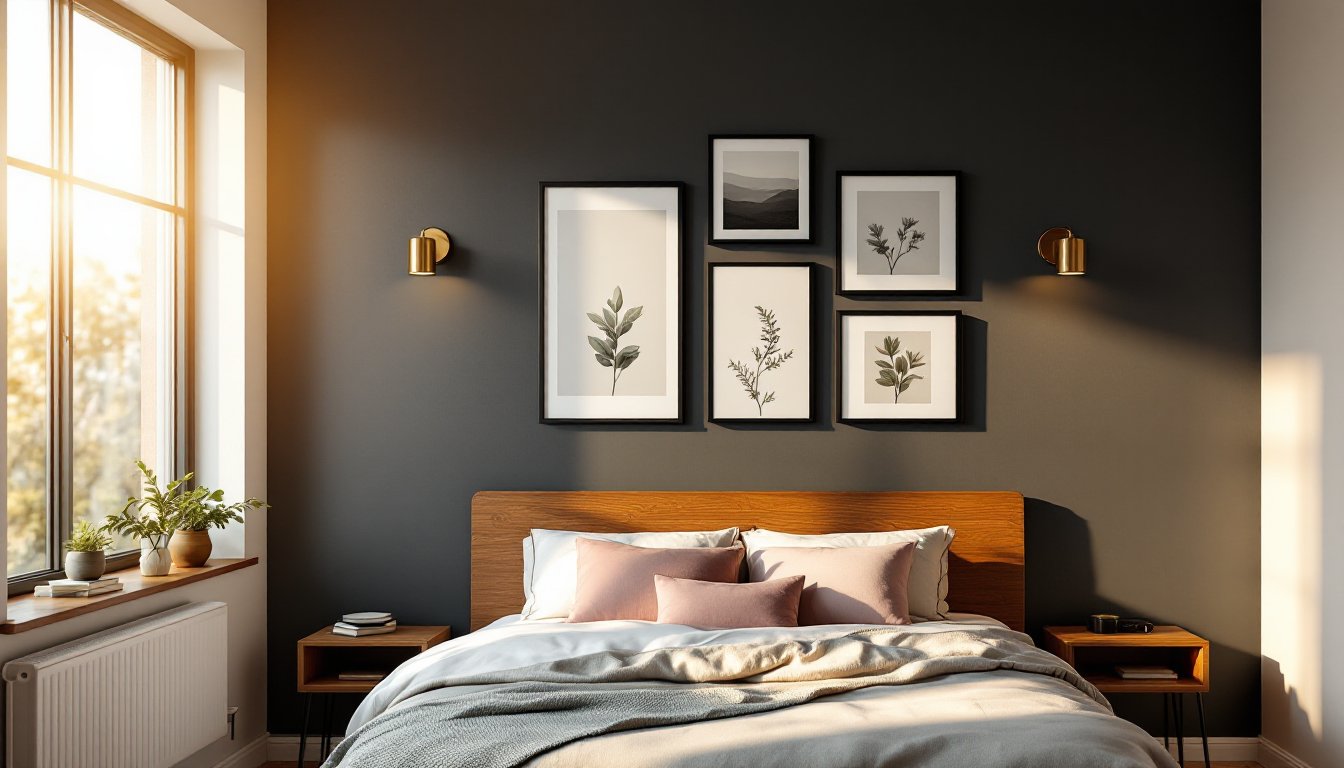
Gallery Walls and Artwork Displays
A gallery wall, clustered frames, varied sizes, mixed media, turns your back wall into a personal gallery. It’s flexible, instantly personal, and can evolve as your taste or collection grows. Renters love this approach because it’s removable and doesn’t alter the wall itself.
Planning is key. Lay out your frames on the floor first, arranging them until the composition feels balanced. Mix frame styles (black metal, natural wood, colorful painted) and artwork types (prints, photographs, abstract, typographic). Odd numbers and asymmetrical clusters feel more dynamic than grids. A typical bedroom gallery spans 4–8 feet wide and 4–6 feet tall, large enough to make impact but not so sprawling it overwhelms.
Hanging: Measure the height where artwork traditionally hangs, center of each frame should sit 57–60 inches from the floor. Use a level, a tape measure, and picture-hanging hooks rated for your frame weights. Avoid nails: use adhesive picture hooks if you’re renting. Mark each location lightly with pencil, hang the hook, then remove the pencil mark once secured.
Wall prep is minimal: a clean, dry surface is enough. Paint color beneath the gallery wall matters, it’ll frame your artwork. Light, neutral walls make colorful prints pop: dark walls feel more gallery-like and formal.
Designers at Homedit and similar inspiration sites often feature gallery walls because they’re endlessly customizable. Your budget scales with your frame and art choices: budget frames run $5–$20: quality prints from online art sites cost $10–$50. A complete 6-frame gallery could run $200–$500 depending on choices.
Lighting Features and Decorative Elements
Lighting transforms a bedroom back wall from a blank canvas into a focal point. Wall sconces flanking a mirror or headboard, a mounted pendant, or subtle LED strip lighting behind floating shelves adds dimension and function without major construction.
Wall sconces are the easiest upgrade. They require mounting to studs (for weight distribution) and running electrical lines, this is where a professional electrician saves headaches and ensures code compliance. If your room lacks wall outlets or the sconce placement doesn’t align with existing circuits, you’ll need new wiring. That’s not a DIY job unless you’re licensed.
Floating shelves offer display space and visual interest. They support weight through brackets hidden inside the wall and anchored to studs. Shelves 12 inches deep hold small plants, books, framed photos, and decorative objects without looking cluttered. Pair them with soft task lighting or interior design tips on styling to maximize the effect.
Decorative elements, woven wall hangings, a wooden headboard, a simple fabric backdrop, add texture without electricity or tools. Fabric wall coverings (muslin, linen, tapestry) can be stretched over a wooden frame and mounted directly to studs.
Safety reminder: Anything involving electrical work (sconces, LED strips, smart lighting) should follow local electrical codes (NEC standards). A permit is often required. Wall-mounted items above the bed need secure installation: falling fixtures are hazards. When in doubt, hire a licensed professional.
Conclusion
Your bedroom’s back wall has enormous potential. Start with your budget, skill level, and rental versus owned status, that shapes whether you go paint, removable wallpaper, or permanent shiplap. Each approach delivers a distinct mood: bold color feels intimate and deliberate, textured wallpaper adds sophistication, wood brings warmth, and gallery walls celebrate personality. Layer in thoughtful lighting or display elements and you’ve got a bedroom that feels considered and personal. The best back wall project is the one you’ll live with confidently. Plan carefully, prep thoroughly, and don’t skip the details.