Table of Contents
ToggleA 10×10 kitchen is one of the most common layouts in American homes, whether you’re working with an apartment, a starter house, or a planned renovation. The challenge isn’t the size, it’s what you do with it. Ten feet by ten feet doesn’t mean cramped or boring. With smart planning, the right materials, and deliberate design choices, a 10×10 kitchen can feel open, efficient, and genuinely stylish. This guide walks you through the layout fundamentals, storage strategies, color and material decisions, lighting tricks, and budget-smart approaches that make a compact kitchen work harder than you’d think.
Key Takeaways
- A 10×10 kitchen design thrives when you choose between galley or L-shaped layouts, each offering distinct efficiency and flow advantages for your space.
- Smart storage solutions—including pullout drawers, vertical shelving, and narrow pantry cabinets—transform compact kitchens by eliminating wasted space and hidden corners.
- Layered lighting (ambient, task, and accent) is the most critical design element for making a 10×10 kitchen feel open and spacious rather than cramped.
- Light cabinet colors (white, soft gray) combined with reflective materials and visual tricks like mirrored backsplashes or glass-front cabinets amplify the sense of space.
- Prioritize investments in cabinetry and countertops over cosmetic finishes, as these elements last 15+ years and deliver the highest visual impact in compact kitchens.
- A cosmetic refresh using new paint, hardware, lighting, and backsplash can transform an existing 10×10 kitchen for $3,000–$8,000, often smarter than a full renovation.
Understanding 10×10 Kitchen Dimensions and Layout Basics
A 10×10 kitchen is exactly 100 square feet of floor space. That’s tight, but it forces you to think purposefully about every element. Most 10×10 kitchens work well as either a galley (two parallel walls) or an L-shape, with a few island or peninsula variations if you have a doorway or window that allows it.
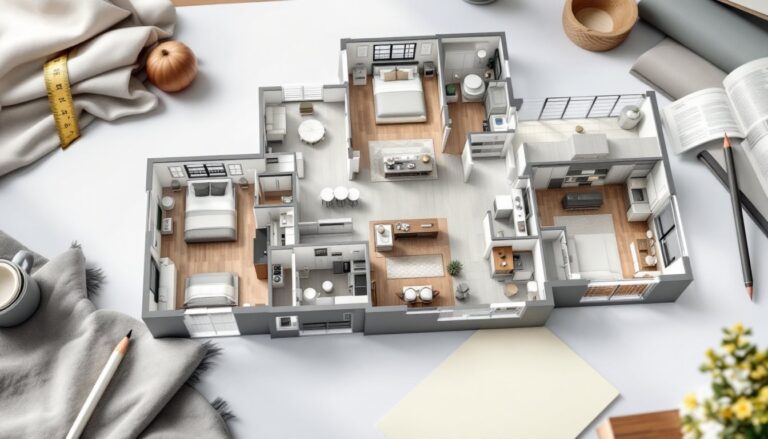
Before you make any design decisions, measure your actual space precisely, measure from wall to wall, floor to ceiling, and account for doorways, windows, and any built-in appliances or fixtures that won’t be moving. Document the location of plumbing, electrical outlets, and any gas lines. Then step back and think about your workflow: where do you prep food, where do you cook, and where do you serve? This triangle (prep, cook, clean) is the backbone of kitchen efficiency.
One practical note: nominal lumber sizes and cabinet depths matter here. A standard base cabinet is 24 inches deep: your counter will overhang about 1.5 inches. Upper cabinets are typically 12 inches deep. That 3-inch difference between upper and lower runs adds visual breathing room in a small space.
Galley Kitchens: The Classic 10×10 Solution
A galley layout has work surfaces and appliances on two opposite or nearly opposite walls, with a walkway between them, usually 3 to 4 feet wide. This layout is naturally efficient because everything is within arm’s reach. The cook stands in the middle and can access prep surfaces, the stove, and the sink without pivoting.
The trick to a galley that doesn’t feel claustrophobic is height variation and sightlines. Don’t run upper cabinets all the way across both walls: break them up or keep one wall more open. If one wall has a window, keep the upper cabinets there shorter or skip them entirely. A galley works best when the walkway is straight and unobstructed, don’t toss a dining table or island in the path.
L-Shaped Layouts for Corner Efficiency
An L-shaped 10×10 kitchen uses two adjacent walls, which opens up the space psychologically and gives you more flexibility for workflow. One wall typically holds the sink and prep counter, while the perpendicular wall handles cooking and storage. This layout works especially well if your kitchen opens into a dining or living area, the open leg of the L faces outward, so the space doesn’t feel boxed in.
The corner where the two walls meet is make-or-break. A standard corner cabinet with a lazy Susan or a pull-out organizer keeps that awkward deep space functional. Alternatively, some designers skip the corner cabinet entirely and use open shelving or a narrow pantry cabinet instead, which feels less heavy and gives the corner breathing room.
Storage Solutions That Make Every Inch Count
Storage is where compact kitchen design lives or dies. A 10×10 kitchen can’t afford wasted cabinet space, and it can’t rely on counter surface for everyday items. You need a layered approach: upper cabinets, lower cabinets, vertical storage, and smart interior organization.
Start with interior cabinet design. Pullout drawers and shelves cost more upfront but transform deep cabinets that would otherwise be black holes. A standard 24-inch deep cabinet can feel inaccessible at the back: a pullout mechanism brings items forward. For base cabinets under the sink or stove, a tiered shelf system or sliding basket kit doubles usable space.
Vertical storage is your friend. Use the full height of your wall from counter to ceiling. Floating shelves above the counter (12 to 16 inches above the backsplash) hold everyday items and visual interest without the visual weight of a cabinet door. Open shelving or handleless kitchen cabinets reinforce the illusion of openness in a tight footprint.
For pantry storage, a narrow pull-out pantry cabinet (9 to 12 inches wide) fits into the corner or beside the fridge and holds staples without eating floor space. If you have wall space near the kitchen entry, a tall skinny cabinet works too. The key is vertical and linear, not sprawling.
Small appliances are the wild card. A toaster, microwave, and coffee maker add up fast. Choose: store them in a dedicated appliance garage (a cabinet with a door that rolls up or down), keep the most-used ones on the counter in a logical zone, or mount the microwave above the stove on a mounting bracket. Every appliance on the counter costs visibility and work surface, so be selective. Consider whether a device earns its real estate, if you use the blender once a month, store it in a higher cabinet or a pantry.
Color and Material Choices for Small Kitchen Impact
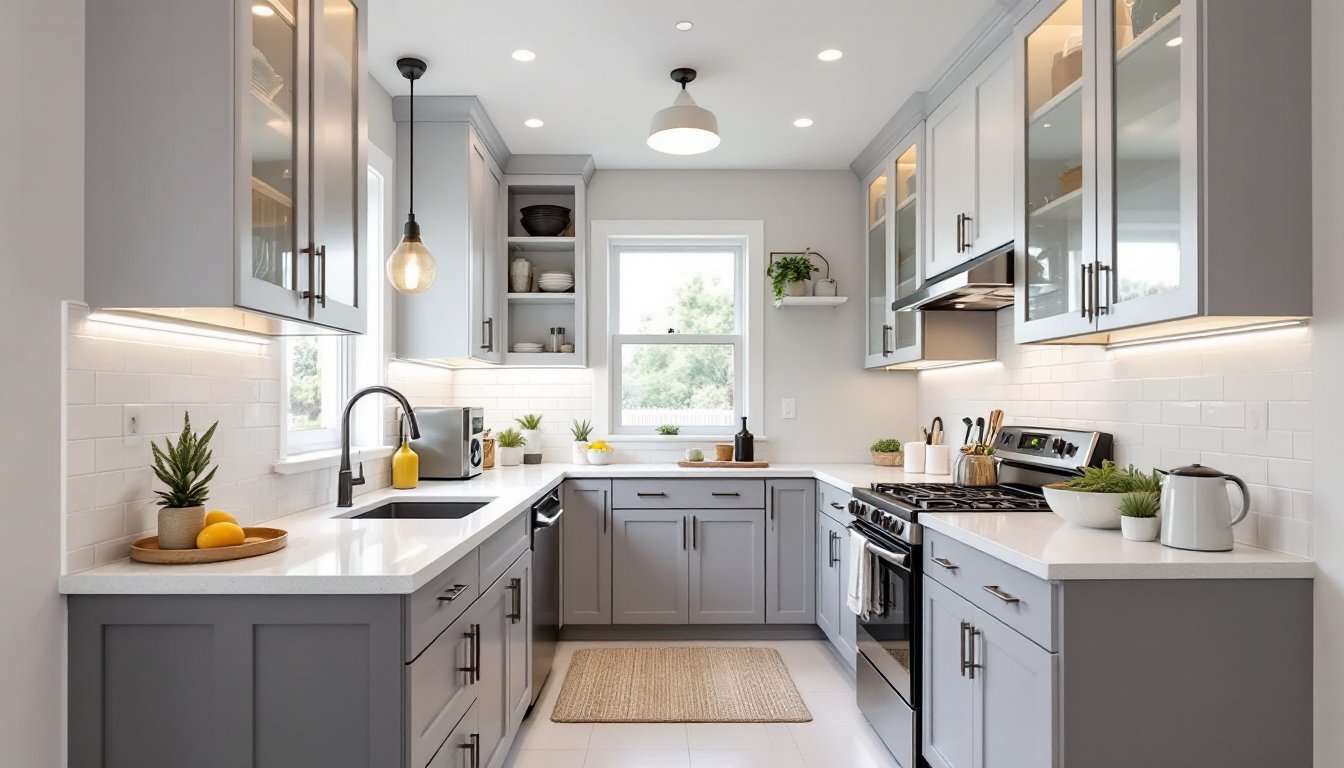
Color and material set the mood and affect how spacious a 10×10 kitchen feels. Light colors, white, soft gray, pale beige, even a muted sage green, reflect light and make walls recede. Dark colors absorb light and can make a small space feel boxed in, though a single accent wall of deep color or patterned tile can add personality without closing the space.
Cabinet color matters most because cabinets take up the bulk of visual real estate. White or light naturalistic cabinet finishes (like soft oak or maple) are classic for good reason: they feel clean and open. Gray is the modern middle ground, warm enough for character, neutral enough to feel spacious. Matte or satin finishes diffuse light gently and hide fingerprints better than glossy finishes, which can feel plasticky in a small space.
Countertop material should be practical and visually light. Quartz in whites or grays, solid-surface materials, or butcher block are common choices. Quartz is non-porous, resists stains, and requires minimal maintenance, a smart choice if you’re cooking frequently in a compact zone. Laminate is budget-friendly and comes in dozens of finishes: quality laminate holds up well in a kitchen where counter space is premium real estate. Avoid overly dark or heavily patterned counters unless they anchor a specific design intention.
Backsplash is where you can inject a visual break. A subtle subway tile, a light metro-style layout, or even a matte white tile keeps things clean and bright. If you want pattern or color, a small-scale tile or a jewel-toned accent band works better than a bold, all-over pattern that competes with cabinetry. A larger-scale pattern or color in a small kitchen can feel chaotic.
Flooring should be durable and visually continuous. Light-colored porcelain tile, sealed concrete, or light wood-look laminate keep the space feeling open. Avoid a radically different color or pattern that chops the kitchen visually from the adjacent room. The kitchen floor should feel like a natural part of the home’s flow, not an island unto itself.
Lighting and Visual Tricks to Expand Your Space
Lighting is the single most underrated tool in compact kitchen design. Poor lighting makes a small kitchen feel cramped and dingy: good layered lighting transforms it into something open and functional.
Start with ambient light, ceiling fixtures. A single recessed light or basic fixture leaves corners dark and the room feeling flat. Instead, plan for multiple light sources. Recessed lights (4 to 6 inches apart, spaced 3 to 4 feet from the wall) create even ambient coverage. Add a small flush-mount or semi-flush fixture near the entryway or in the corner to eliminate shadows.
Task lighting over the sink and counters is essential. An undercabinet LED strip mounted on the underside of upper cabinets floods the counter with light and eliminates the shadow your body casts when you’re working. These are inexpensive, energy-efficient, and transformative. For over-sink lighting, a small pendant or a recessed light directly above prevents the “working in shadow” problem.
Accent lighting is optional but powerful. A single pendant or small track light can highlight open shelving or a small bar area, adding visual depth and interest. Warm-toned LED bulbs (2700K color temperature) feel welcoming: cool-toned (4000K and above) feel clinical. In a small kitchen where mood matters, warm is usually the right choice.
Visual tricks beyond lighting: a full-height mirror on one wall or a mirrored backsplash multiplies light and makes the space feel deeper. A window or window above the sink is invaluable, daylight opens a small space psychologically. If you don’t have a window, a light, airy paint color and strategic task lighting simulate that openness. Glass-front upper cabinets with interior lighting or open shelving with good ambient light also create visual continuity and reduce the weight of cabinetry.
Research from resources like The Kitchn and design communities shows that small kitchen dwellers consistently cite lighting as the top factor in how spacious their kitchen feels. Don’t skimp here.
Budget-Friendly Design Tips for 10×10 Kitchens
A 10×10 kitchen renovation can range from $10,000 to $50,000 or more, depending on cabinet quality, appliance choices, and material grades. The good news: a compact space means every dollar goes further in terms of visible impact.
Prioritize wisely. Cabinetry, counters, and appliances consume 60–70% of a typical kitchen budget. If funds are tight, invest in solid cabinet construction and finishes, they’re visible every day and last 15+ years. Countertops are the second priority: they see heavy use and are a visual anchor. Flooring and backsplash, while important, can be refreshed later if needed.
Budget hacks: semi-custom or stock cabinetry from retailers (not fully custom millwork) cuts costs dramatically while still offering decent quality and finishes. Laminate or solid-surface countertops perform well and cost half what quartz does. Open shelving in place of upper cabinets eliminates the cost of cabinet doors and hardware, though it requires discipline to keep shelves organized and clutter-free.
Refresh vs. remodel: if your existing layout and appliances are functional, cosmetic updates yield huge returns. New cabinet paint or stain, new hardware, fresh countertop material, new lighting, and a updated backsplash can transform a tired kitchen for $3,000–$8,000. That’s often smarter than a full gut renovation for a 10×10 space.
Appliance selection is critical in a small kitchen. Full-size appliances (30-inch range, standard refrigerator) are standard, but compact or apartment-size appliances (24-inch ranges, undercounter dishwashers) can free up space. A slimline dishwasher (18 inches wide) costs less and uses less water than a standard model. Countertop convection ovens or air fryers can reduce or eliminate the need for a separate oven if your household size is small.
Sources like Remodelista document real small-kitchen renovations with budgets and product choices. Reviewing case studies in your price range helps set realistic expectations and exposes cost-saving ideas that actually work. Similarly, design communities and forums offer candid feedback on where corners can be cut and where they shouldn’t be.