Table of Contents
ToggleBedroom lighting often gets overlooked in favor of a ceiling fixture and a bedside table lamp, but that’s where most homeowners miss a huge opportunity. Wall-mounted lights transform both function and mood, creating layers of illumination that turn a plain bedroom into a genuinely inviting retreat. Whether you’re after practical task lighting for reading or soft ambient glow for unwinding, strategic bedroom wall light design handles both with style. This guide walks through the styles, placement, and DIY installation approaches that actually work.
Key Takeaways
- Bedroom wall light design with layered lighting—combining overhead, task, and ambient sources—lets you adjust mood and function throughout the day while reducing eye strain and adding depth to the room.
- Mount bedside sconces 36–40 inches above the floor (12–18 inches above the mattress) and flank them symmetrically around the headboard for balanced, functional reading light without glare.
- Use warm color temperatures (2700K–3000K) with dimmers for bedroom wall lighting to create relaxation-friendly ambiance; quality LED bulbs prevent flicker and cost $10–$25 more.
- Accent strips, picture lights, and LED fixtures offer flexible bedroom wall light solutions—peel-and-stick options require zero wiring, while sconce installation into studs or heavy-duty anchors ensures safe, lasting results.
- Always confirm power is off, use a stud finder for placement, and measure twice before drilling; professional installation is required for new circuits, but fixture-to-outlet replacements are manageable DIY projects.
Why Bedroom Wall Lighting Matters
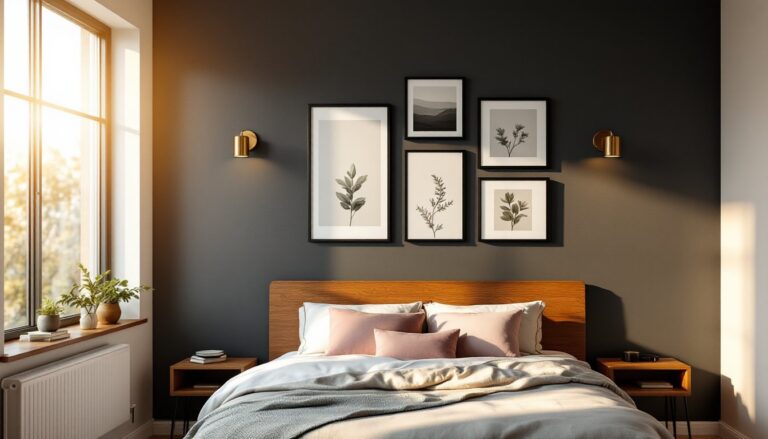
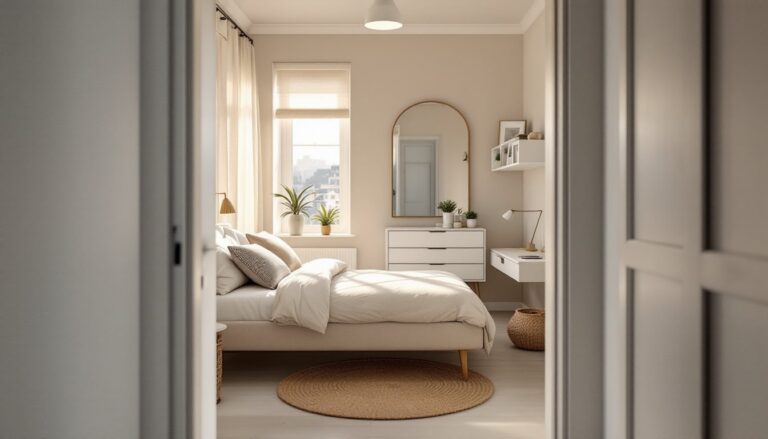
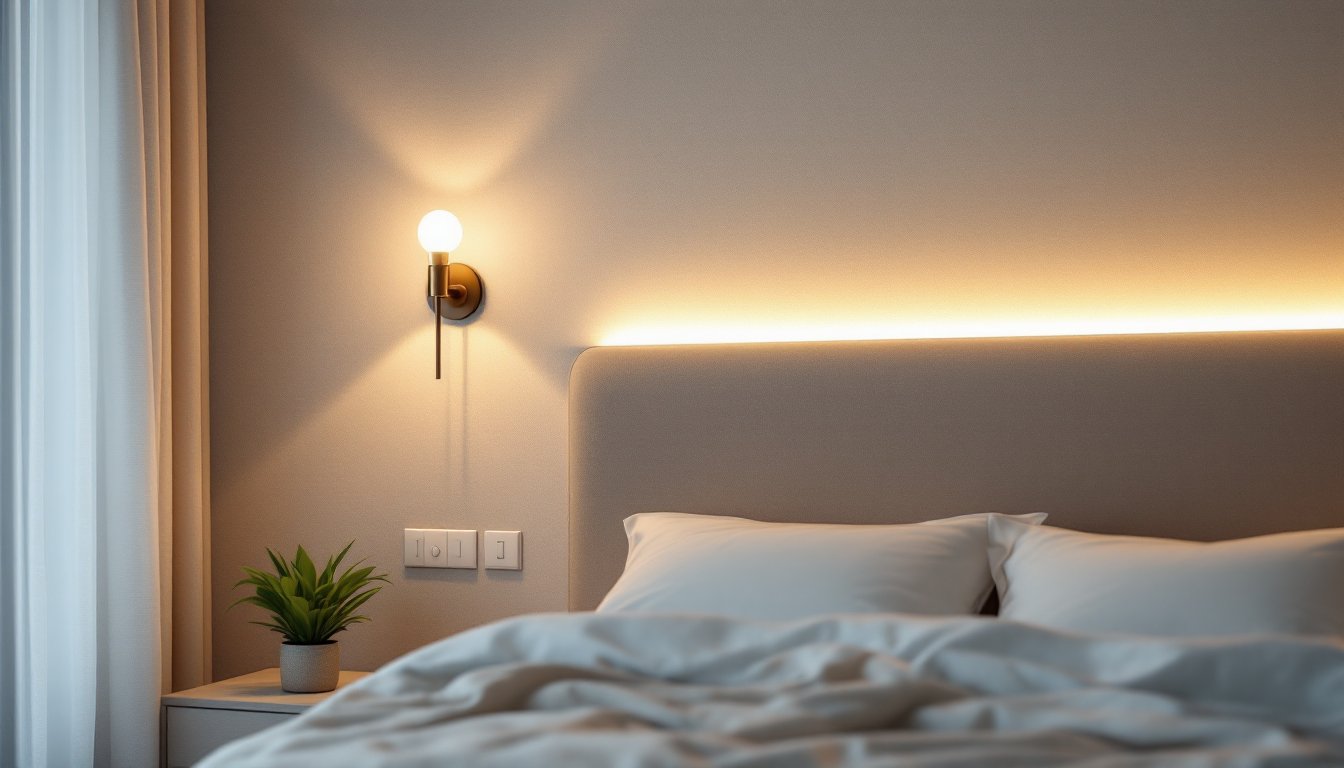
Wall lights do more than fill a room with brightness, they shape how a space feels and functions. Layered lighting (a combination of overhead, task, and ambient sources) lets you dial in the right mood for any time of day. Early morning readiness calls for brighter light: evening wind-down wants warm, dimmed illumination. Wall sconces flanking the headboard replace the “table lamp sprawl” that eats up nightstand real estate, especially valuable in compact bedrooms.
Beyond aesthetics, proper wall lighting reduces eye strain during reading, provides fail-safe navigation during nighttime bathroom trips, and creates focal points that draw attention to architectural features. Bedrooms that rely solely on overhead lighting often feel harsh or flat, wall lights add depth and character. They’re also easier to rewire than ceiling fixtures in many cases, making them ideal for rental improvements or starter projects.
Popular Bedroom Wall Light Styles and Fixtures
Sconces and Mounted Fixtures
Sconces are the most common wall light for bedrooms. They’re available in countless styles, from minimalist brass cones to traditional glass globes, and mount directly to the wall stud or, with proper anchors, to drywall. Arm sconces (extending 6–12 inches from the wall) work well for reading light and create softer shadows than flush-mount options. Flush-mount or semi-flush fixtures hug the wall more closely, better for smaller rooms or low ceilings.
When selecting a sconce, check the fixture weight, mounting requirements, and whether it needs a standard socket (E26) or specialty bulb. A 40–60-watt equivalent LED sconce delivers comfortable bedside reading light without heating the fixture.
Picture Lights and Accent Lighting
Picture lights mount above artwork or mirrors and cast focused illumination downward. They’re excellent for highlighting a gallery wall or vanity mirror setup, though they’re typically task-specific rather than general room lighting. Accent strips or linear LED fixtures behind floating shelves or headboards create ambient glow without direct glare, perfect for a relaxing vibe.
Accent lighting often works best on dimmers (more on that below). LED strips offer easy installation, peel-and-stick backing and simple plug-in or hardwired connections, and run cool, so they won’t scorch wood or damage finishes.
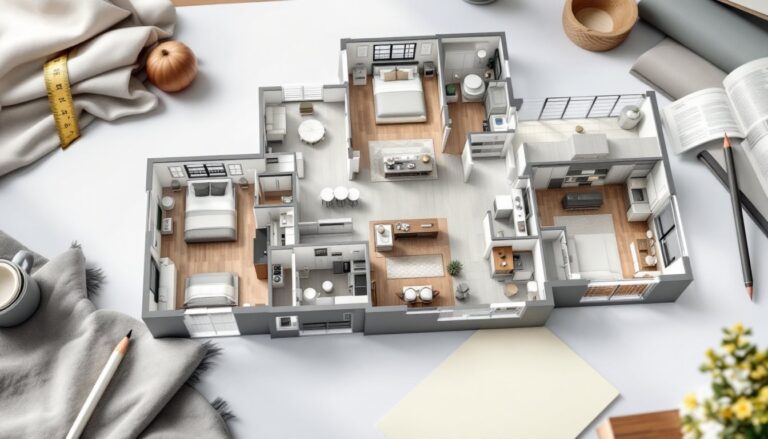
Placement Strategies for Maximum Impact
Height and location make or break wall lighting effectiveness. Bedside sconces should mount 36–40 inches above the finished floor (roughly 12–18 inches above the top of the mattress), positioning light at eye level when seated or reclining. This angle reduces glare and directs light where you actually need it.
Flank the headboard symmetrically, one sconce on each side creates balanced, functional lighting and frames the bed nicely. If your headboard is off-center or you prefer asymmetric design, position fixtures where they genuinely serve reading or dressing tasks.
For accent lighting or ambient strips, run them along upper wall sections, above doorways, or behind furniture to avoid direct line-of-sight glare. A low-level accent light near the floor or behind a nightstand adds gentle wayfinding without startling you at 2 a.m. Consider natural sightlines: fixtures should feel intentional, not scattered.
Before drilling or anchoring anything, use a stud finder to locate wall studs (typically 16 inches on center). Mounting into a stud is always safer for heavier fixtures: for lighter sconces in non-stud locations, use heavy-duty drywall anchors rated for your fixture’s weight. Never rely on old toggle bolts without checking their rating first.
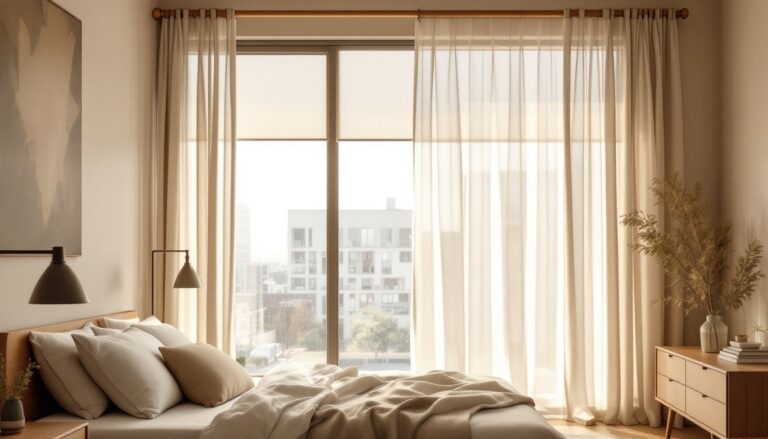
Color Temperature and Ambiance Control
Color temperature, measured in Kelvin (K), controls whether light feels warm or cool. Bedroom lighting works best in the 2700K–3000K range (warm white), which mimics incandescent bulbs and promotes relaxation. Cooler temps (4000K+) are better suited to task areas like vanities or home offices.
Dimmers are your secret weapon for mood control. A sconce on a dimmer switch becomes a reading light at full brightness and ambient glow when turned down. Most LED bulbs work with standard dimmers, but check the package, older or budget LEDs sometimes flicker on dimmers. Quality LEDs (and the dimmers they’re paired with) run $10–$25 extra and eliminate flicker entirely.
If your bedroom layout involves multiple fixtures, consider a three-way or zone setup: bedside reading sconces on one switch, accent strips on another. This gives you flexibility without installing a complicated system. Modern smart home lighting solutions let you adjust color temp and brightness from a phone, though they’re optional for basic ambiance control.
DIY Installation Tips for Homeowners
Before you start: Turn off power at the breaker panel and test the outlet with a non-contact voltage tester to confirm it’s dead. Wear safety glasses, plaster and drywall dust fly when drilling.
If you’re wiring a new fixture into existing outlet or hardwiring it to a nearby circuit, that’s a job for a licensed electrician in most jurisdictions. But if you’re installing a fixture to an existing outlet box, here’s the typical process:
- Remove the old fixture (if replacing) and disconnect wires inside the outlet box.
- Use a stud finder to locate a wall stud nearby. If you’re lucky, the outlet is already in a stud bay.
- Install the mounting bracket to the outlet box or wall, using lag bolts for studs or heavy-duty anchors for drywall.
- Connect the fixture’s wires to the outlet box (black to black, white to white, ground to ground) using wire nuts.
- Secure the fixture body to the bracket, add your bulb, and test.
For accent strips or picture lights that plug in, installation is simpler: peel adhesive backing, press firmly onto a clean, dry surface, run the cord behind furniture or along the wall, and plug in. No wiring required.
Common mistakes: Skipping surface prep (dust and grease prevent adhesive strips from sticking), not checking fixture weight limits, and hanging fixtures too high or low. Measure twice, mark with a pencil, and use a level, even 2 inches off-center looks noticeably off.
Interior designers often reference contemporary lighting approaches from Design Milk to stay current on fixture styles and placement trends. For broader room layout ideas, House Beautiful’s design guides offer context on how wall lighting fits into full bedroom schemes.