Table of Contents
ToggleA 5×8 bathroom is tight, but it’s not a design curse, it’s a constraint that forces smart choices. Whether you’re working with a master bathroom that’s smaller than you’d like or a guest half-bath that needs an upgrade, this footprint shows up constantly in residential construction, and for good reason: it balances code compliance with practical use. The key isn’t cramming everything in: it’s arranging fixtures and finishes so the space feels open, functional, and intentional. This guide walks through layout strategies, fixture placement, visual tricks, and real storage solutions that actually work without eating floor space.
Key Takeaways
- A 5×8 bathroom layout works best when you separate the wet zone (tub/shower) from the dry zone (vanity/toilet) along different walls to maximize functionality and safety.
- Wall-mounted vanities, corner fixtures, and large-format tiles make 5×8 bathrooms feel more spacious by reducing visual clutter and freeing up floor space for movement.
- Light colors, layered lighting (mirror task lights, recessed ceiling lights, and natural daylight), and vertical tile patterns create the illusion of openness in small bathrooms.
- Recessed medicine cabinets, floating shelves above the toilet, and organized vanity storage solve clutter without eating floor space—plan storage before finishing walls.
- Budget-friendly updates like fresh paint, LED mirror lighting, vanity replacement, and hardware swaps deliver maximum impact for $650–$1,000 without requiring plumbing relocations.
- Choose minimalist or spa-inspired design styles that embrace constraint rather than industrial or maximalist aesthetics that can overwhelm a tight 5×8 footprint.
Understanding Your 5×8 Bathroom Layout
A 5×8 bathroom gives you 40 square feet, enough for a toilet, vanity, and shower or tub, but not much breathing room. Before moving fixtures or picking paint, understand what you’re working with.
Measure the actual wall space and note any fixed obstacles: the door swing, existing plumbing rough-ins, and load-bearing walls. Standard building codes require a minimum 15-inch clearance from centerline to centerline of a toilet from side walls or fixtures, and the door must clear the toilet by a few inches when open. If your bathroom is too cramped for comfortable clearances, you may need to reposition the toilet or rotate the door swing, both of which require a licensed plumber and potentially a permit.
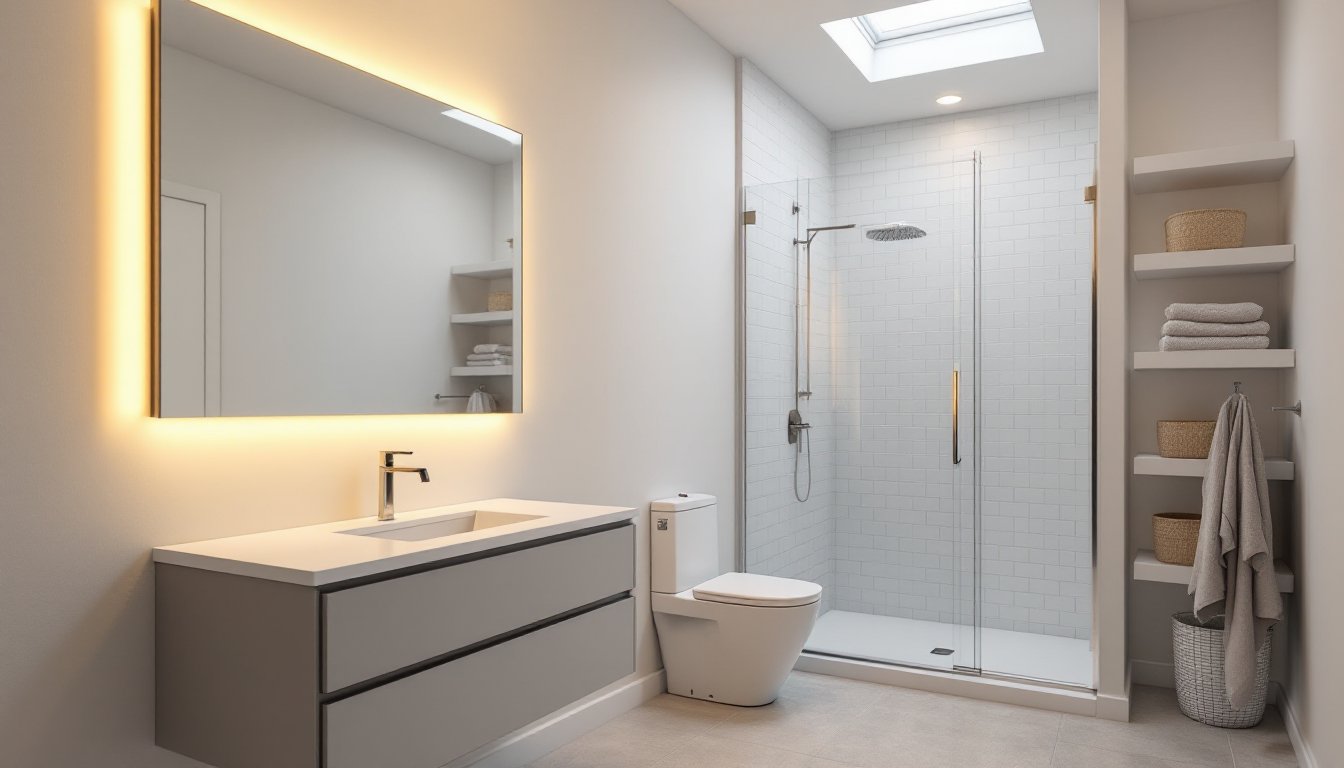
Decide which wall gets the toilet-and-sink arrangement and which gets the tub or shower. In a 5×8 footprint, the most common layout places a vanity and toilet along one long wall (the 8-foot side) and a shower or tub on the opposite or adjacent wall. This arrangement keeps the wet zone separate from the dry zone, reduces slip hazards, and makes cleaning easier. If you’re adding a shower enclosure, measure carefully: a standard 36×36-inch corner shower leaves minimal floor space in a 5×8 room. A 60-inch alcove tub takes up more length but can feel more spacious than a cramped shower stall.
Space-Saving Fixture Placement Strategies
Fixture placement makes or breaks a small bathroom. Wall-mounted vanities save floor space compared to pedestal sinks or vanity cabinets that sit on legs, but they require solid backing, a reinforced stud or blocking between framing members. A 30-inch or 36-inch vanity is standard: going narrower sacrifices storage and counter depth, while a wider cabinet feels crammed in a 5×8 space.
Corner installations can help. A corner vanity (24 inches deep, wrapping two walls) or a corner toilet saves linear wall length. But, corner placement makes the toilet harder to access and clean: reserve it only if layout forces the choice. Floating shelves above the toilet offer extra storage without footprint impact.
For the shower or tub, consider a corner setup too. An alcove tub (60 inches wide, 30–32 inches deep) leaves the most floor area open compared to a corner shower enclosure. If you must choose a shower, a three-wall enclosure (neo-angle or corner) looks sleeker than a full-frame sliding door and reduces visual clutter. A frameless glass enclosure also makes a small space feel larger than a framed or opaque shower door.
Keep plumbing in mind. Moving fixtures requires rerouting supply and drain lines, an expensive task that often needs a licensed plumber and a permit. If your current layout is functional, shifting fixtures slightly to improve usability costs less than a full plumbing relocation.
Color and Lighting for Visual Expansion
Color and light are the free square footage you can give yourself. Light colors (soft whites, pale grays, light neutrals) reflect light and make walls feel farther away. Darker colors absorb light and make spaces feel smaller: reserve them for accents on a single wall or a small tile feature. Matte finishes are forgiving in small bathrooms, but a satin or semi-gloss on walls bounces light around without looking shiny or clinical.
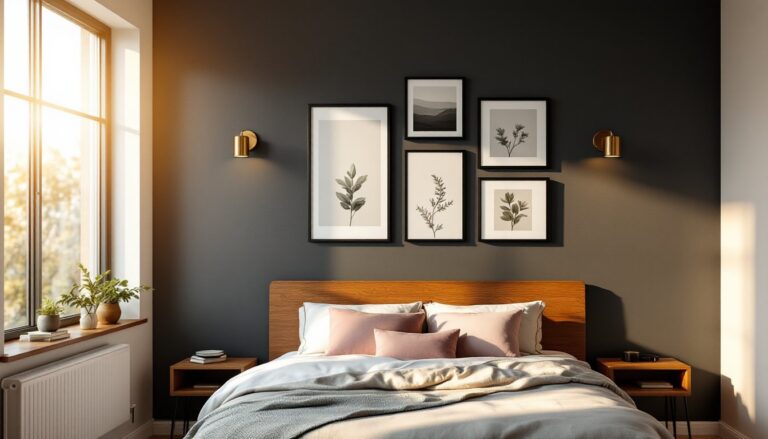
Tile selection matters too. Large-format tiles (12×24 inches or 18×18 inches) create fewer grout lines than small tiles, which visually simplifies the space. Subway tile (3×6 inches) is classic and works well in small baths when laid with minimal grout joints. Vertical tile patterns (running grout lines up instead of across) draw the eye upward and make ceilings feel higher.
Layered lighting opens up a small bathroom. A single overhead fixture casts shadows and feels harsh. Add a dimmable light above or beside the mirror for task lighting, recessed ceiling lights for ambient fill, and if there’s space, a small sconce in a corner or above a floating shelf for mood. Warm white bulbs (2700K) feel welcoming: cool white (4000K) is clinical. In a 5×8 space, warm light feels cozier and forgives less-than-perfect finishes. A skylight or high window brings in natural light, which is a game-changer if your budget allows. The psychological effect of daylight transforms small spaces more than any paint color can.
Storage Solutions That Don’t Clutter
Storage is the silent killer in small bathrooms. Bottles, towels, and supplies multiply, and a cluttered 5×8 room feels half its size. Plan storage before you finish walls.
Recessed medicine cabinets fit inside the wall cavity, taking zero floor space. They’re shallow (3–4 inches deep), so they work best for medications, small grooming tools, and skincare. Install them during framing or after drywall if you’re willing to cut and patch. If your wall cavity isn’t available (electrical outlet, plumbing), a surface-mounted or mirrored cabinet is the next best option. Choose one with a frame finish that matches your vanity or mirror.
Open shelving above the toilet is cheap and effective. Floating shelves (12–18 inches deep, 24–36 inches wide) hold folded towels, baskets, and decorative items without visual clutter if styled deliberately. Baskets with lids keep supplies hidden while staying accessible. Avoid open shelving on every wall: one or two shelves feel intentional, while four or five read as cluttered.
In or below the vanity, use drawer dividers, small bins, and vertical file holders to maximize cabinet depth. A pull-out drawer caddy under the sink keeps cleaning supplies organized and accessible. Pegboards on the back of the door or inside the cabinet door add hidden storage for small tools and hair appliances.
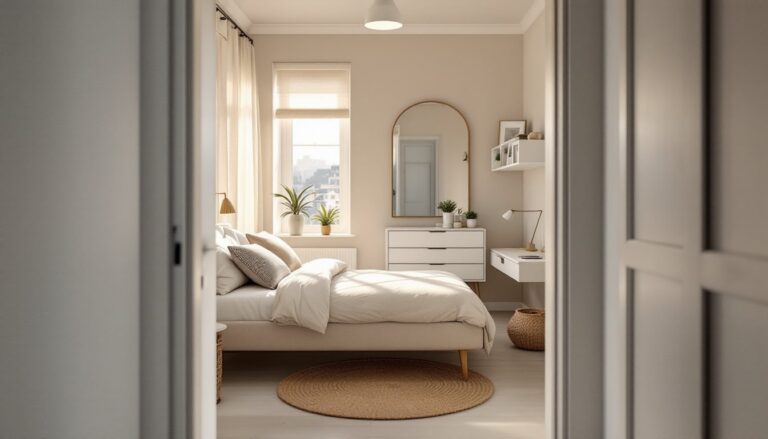
Design Styles That Work in Small Bathrooms
Certain design styles feel less cramped in a 5×8 footprint. Modern minimalist (clean lines, white walls, hidden storage) embraces constraint and looks intentional. Vanitories are sleek and floating: mirrors are large and frameless. Cottage or farmhouse styles use warm whites, open shelving, and vintage-inspired fixtures that invite comfort rather than efficiency. Spa-inspired designs use soft colors, natural materials (teak or bamboo accents), and layered lighting to create calm. Design styles for small bathrooms often overlap in their use of light, simplicity, and strategic storage placement.
Avoid styles that rely on collections, bold wallpaper, or heavy pattern in a 5×8 space. Industrial or maximalist aesthetics work better in larger baths where visual variety doesn’t overwhelm. Your goal is a style that feels like a deliberate choice, not a compromise forced by square footage.
Budget-Friendly Updates for Maximum Impact
A full 5×8 bathroom renovation, new fixtures, tile, and plumbing, runs $8,000–$15,000+ depending on material choices and whether you move plumbing. But you don’t need to gut it to make an impact.
Painting is the cheapest refresh. Two coats of quality bathroom paint (semi-gloss or satin, mildew-resistant) on walls and ceiling cost under $200 in materials. Use paint-grade trim and doors if budget is tight: finish-grade trim (oak or maple) is pricier and dates faster. Bathroom updates and renovation tips offer practical guidance on which upgrades move the needle.
Lighting upgrades are affordable and immediate. Swapping out a dated overhead fixture for a modern brushed-nickel or matte-black version costs $30–$150 in materials. Adding a dimmable LED strip above the mirror adds soft task lighting for under $50.
Vanity and mirror replacement is a mid-range project. A basic 30-inch floating vanity (particle board or plywood) runs $200–$400: a frameless or modern mirror adds $100–$200. Installation is DIY-friendly if existing plumbing supply and drain lines align with the new cabinet cutouts. If you must relocate plumbing, costs jump because you’ll need a plumber.
Tile accents (a peel-and-stick tile backsplash above the vanity or a shower niche border) cost $50–$150 and feel custom. Subway tile or simple geometric patterns read modern: busy or small-format tiles date faster.
Hardware swaps, faucet, drawer pulls, towel bars, cost $100–$300 total and unify the space. Match finishes: if your mirror frame is brushed nickel, choose brushed nickel faucet and pulls. Mismatched finishes feel like separate repairs, not a cohesive design.
Skip wallpaper in a humid bathroom (moisture causes adhesion failure): use paint instead. Avoid trendy colors: soft grays, warm whites, and muted sage are timeless in 5×8 bathrooms. When you eventually sell or renovate, a neutral palette helps buyers envision their own space.
Real-world example: Paint walls and ceiling ($200), install new LED mirror ($200), replace faucet and vanity hardware ($150), add floating shelves ($100). Total: ~$650, and the bathroom feels thoughtfully updated, not dated. This tier of investment pays off on resale and improves daily comfort.
Conclusion
A 5×8 bathroom isn’t a limitation, it’s a canvas where smart layout, color, light, and storage decisions create a space that’s both functional and beautiful. Start by understanding your existing plumbing and code-required clearances, then prioritize fixture placement that respects circulation and comfort. Layer in light, choose a cohesive style, and invest first in storage and finishes that make daily use pleasant. Whether you’re doing a full renovation or incremental updates, every dollar spent on removing clutter and improving light returns more comfort per square foot than in a larger room. Approach it like a well-designed small house: intentionality beats size every time.